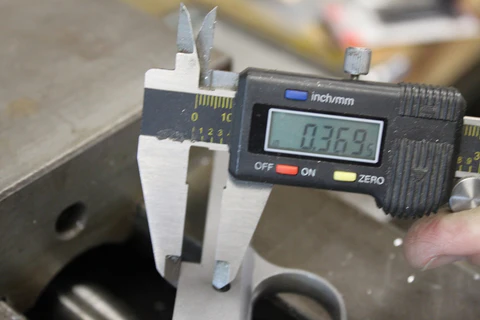
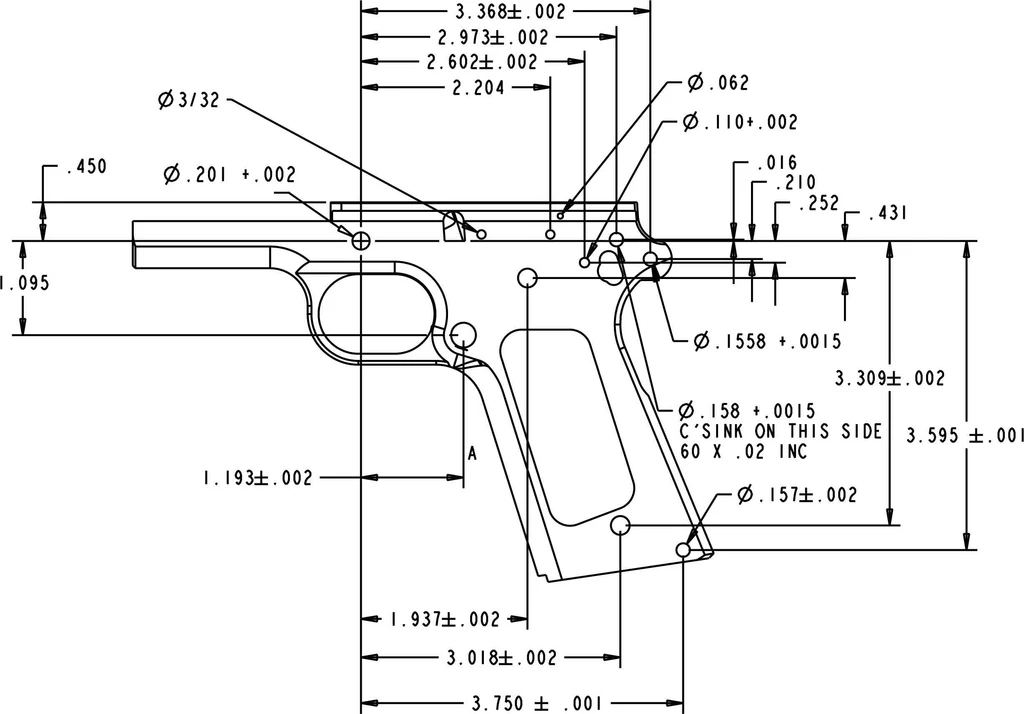
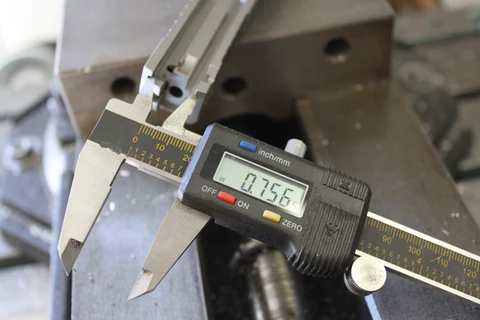
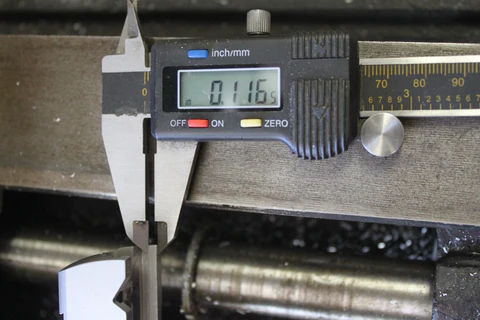
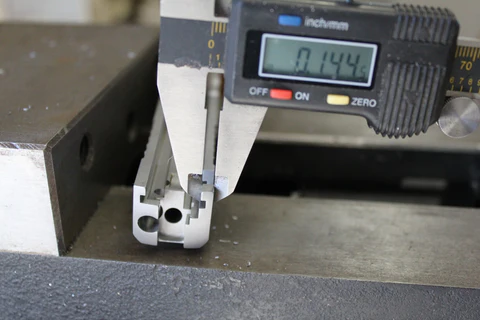
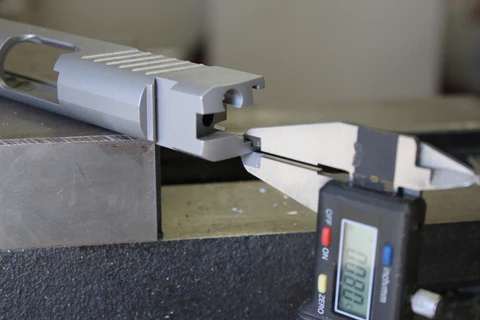
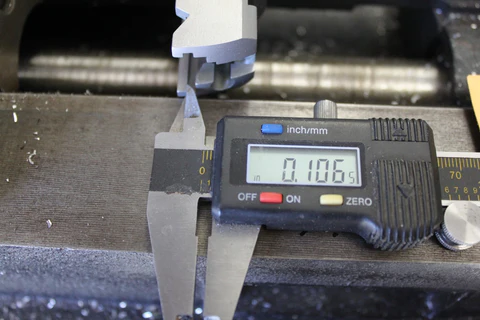
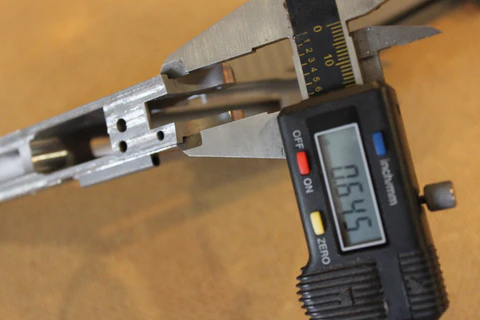
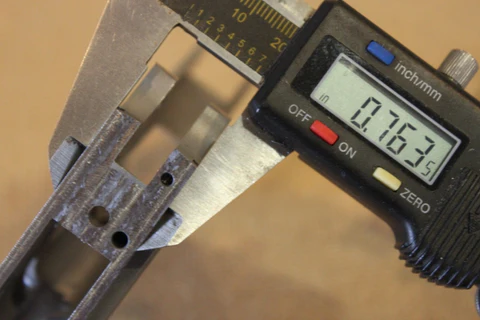
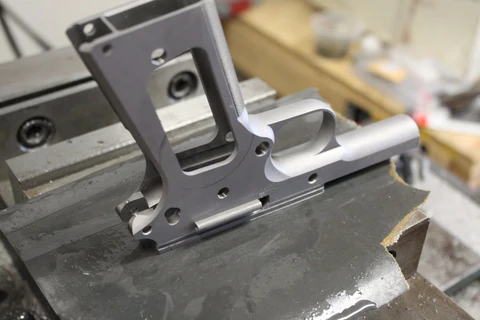
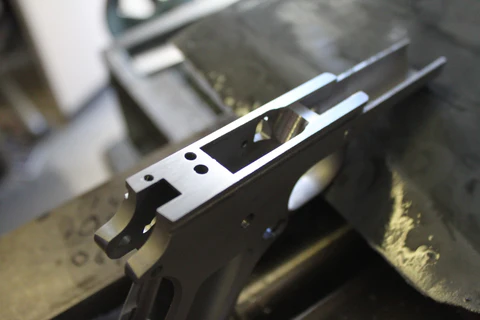
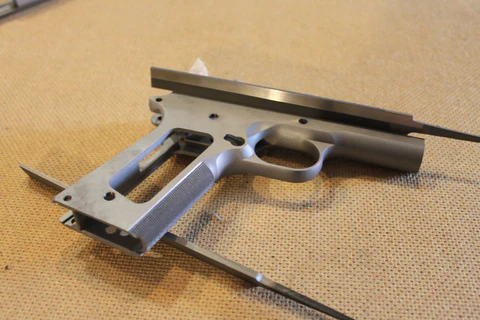
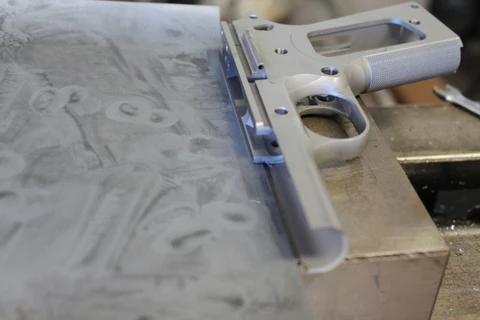
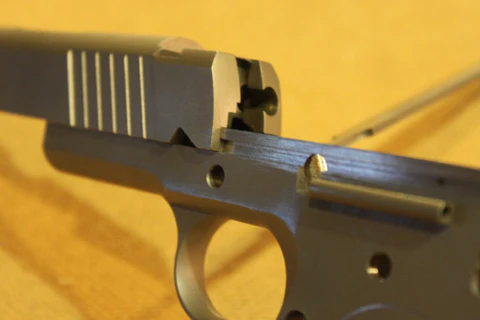
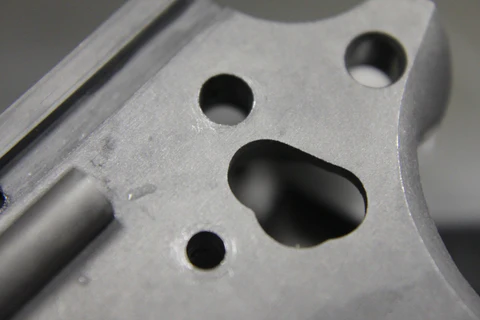
Our first step is to check the measurement between the top of the slide catch pin hole and the top of the frame. Write this measurement down on your worksheet as this will be your starting deck height. Your finished height will be between .343 and .348, I would error on the side of .348 as it is always easier to remove metal then it is too add it back on. So subtract .348 from your current slide catch pin hole to top of frame and that number is the material you will be removing. You should mill to within .0015 of your required dimension and we will file finish then lap to fit.
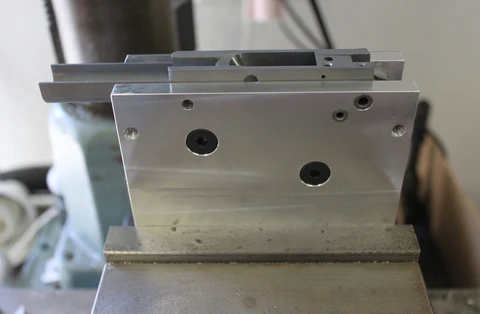
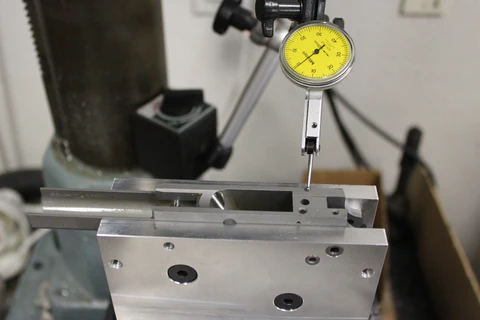
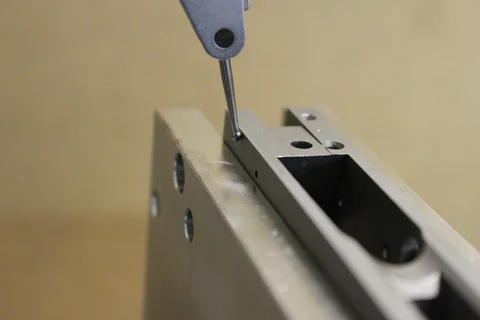
Carefully Place your frame into the fixture, it will be a snug fit using the slide stop and mainspring holes on the guide pins. The frame can only fit one way, fully tighten the countersunk Allen screws. Place the fixture into the vise on the mill and check the frame for level and square to the mill. Try to get it (within .0005”) as accurate as possible; you will do this by using a magnetic base dial indicator. This is an important step as all machining will be done based on the frames relation to the mill, any angles will reflect and be magnified as you go along.
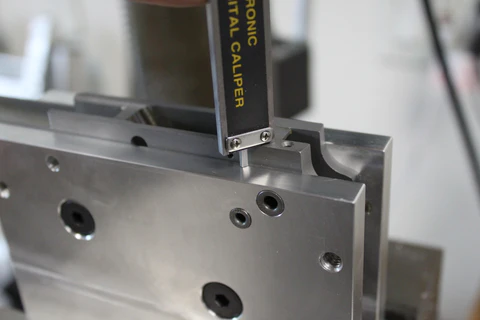
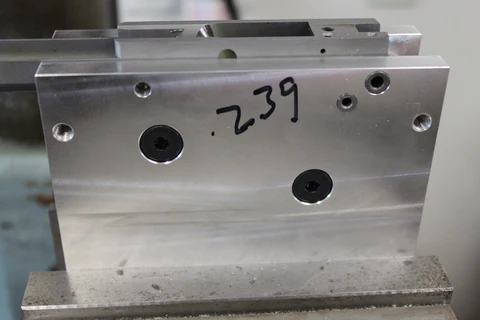
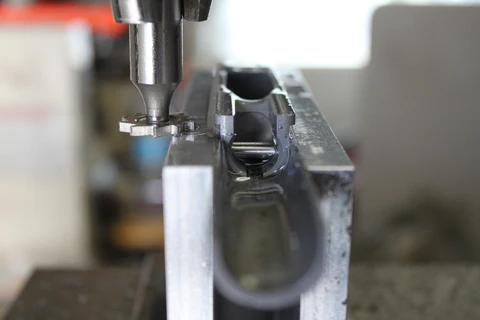
Get the measurement from the top of the frame to the top of the fixture using either a depth micrometer or the end of a caliper as shown. As you mill the top of the frame you can use this measurement to double check to make sure you don’t remove too much material. The fixture is clamped high for illustrative purposes, it is recommended to fully clamp the fixture as deep as possible to avoid tool chatter and deflection.
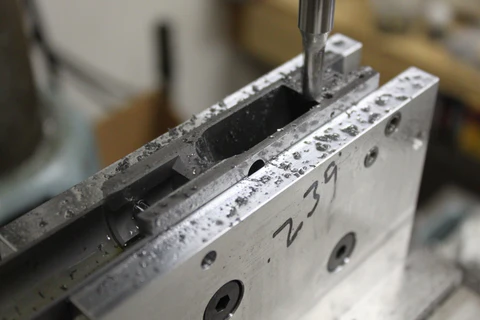
We suggest taking .005-.008” off the top of the frame per pass and a .002” finish pass. In this set up we removed a total .018″ with the mill the last .002 will be done by hand. Using proper spindle speeds and feed rate for your machine, mill the top of the rails to spec.
Use 400 grit sandpaper to finish the edges of the rails.
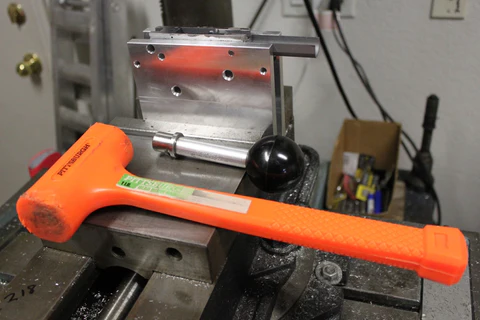
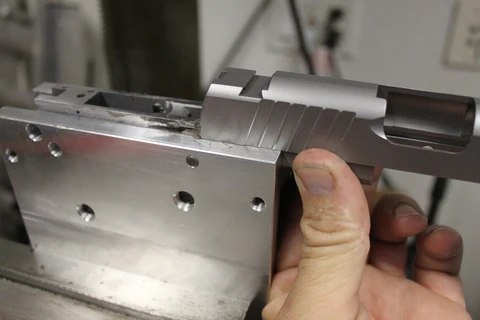
Now test fit the slide until it goes to the back edge of the mag well,there may be difficulty and sticking, DO NOT FORCE IT! You can use a felt pen or sharpie to mark the frame to see where it is fitting tight, the black ink will be rubbed away on high spots to show you where material has to still be removed. Once you get It 1/2 the way you are ready for lapping. You may purchase a 1911 lapping kit that includes a bushing handle and other items. These speciality tools can be used to help with lapping. Otherwise you may use a soft faced mallet and valve lapping compound purchased from any small engine or auto parts store. Lapping compound does come in many grades and it is your prerogative to the level of lapping you desire. Apply lapping compound to the frame and inside of the slide rails, and begin sliding the 2 together. Be careful of sharp edges and use the soft face mallet to “unstick” the slide should it become stuck. Never force it past a stuck spot, Make sure to never twist or lift on the slide as this will bend and dent the rails. Lap the slide and frame together until they have full length of travel. We recommend cleaning and replacing the compound a few times in this process as it will wear out. NEVER BEAT IT ON WITH A HAMMER IT WILL VOID YOUR WARRANTY , IT’S OK TO TAP OFF
